


Hello and Happy Monday!!
Mondays are usually a blah kind of day so I thought I'd bring you a little tutorial on how I do my quilt labels.
If you don't label your quilts, I'll let you off the hook *wink* but going forward I truly encourage you to label them. They are important for so many reasons. They tell the why, the who, the when, the where and really, anything you want them to. Think of all those quilts from the past and how we all try and figure out where they came from, its legacy. Be sure to leave your legacy on your quilts. You worked hard on them. You and your quilt deserve that much. :)
Now, a lot of people ask what to put on the label. Well, that's really up to you. I think in part it depends on its purpose. If its a quilt for yourself or a gift, the name of the quilt, it's recipient, you're name, the date (I personally use the date I completed it), maybe a location, and any other little tidbits you want. Maybe a quote, or a short story. Some people like to put their address on their labels. I really only do this if I am sending my quilt out and I want to make sure I get it back no matter what!
Due to the fact that there are so many different things to put on a label, I choose to hand make mine every time. I love the idea of creating labels on Spoonflower and I even went out there and designed a few. After I thought about it for a while, I decided each quilt I make is different and unique, I want my labels to reflect that same thing. I didn't want the same label on every quilt.
Another reason I make my labels like this is so I can sew them right into the backing of my quilt. I generally piece all my backs so this isn't an extra step for me. You know that by sewing them right into the quilt that they won't be removed with out compromising the quilt itself. Very important!!
So, here is how I make my labels. It's super simple and so versatile.
Here we go...
Step 1: Find a free font site to choose the font you would like to use. I like DaFont.com. Tons to choose form and they are FREE! They even have directions on how to install them!
Step 2: Bring up any program where you can write text and change the font. I use Photoshop, but you can use whatever you have on your computer. It doesn't have to be fancy, just so you can type words and change the font.
Step 3: Create a new document. If you can choose the size of your document, choose the size you want your label to be. If you can't, just use the rulers as a guide. For this label I am using 6 x 6.

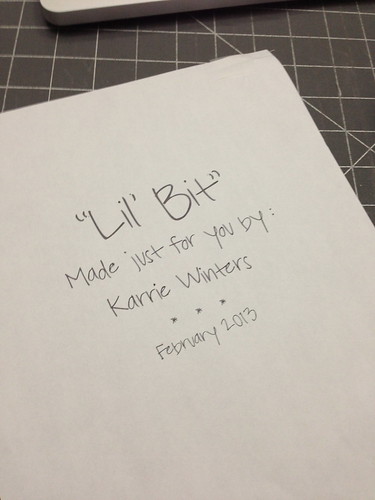
Step 4: Type out your label. Create it just as you want it to be shown on the back of your quilt. Add words, quotes, shapes, anything you can trace. Don't make it any more complicated than your tracing abilities will allow. :)
Step 5: Now print that out.
Step 6: Cut your fabric that you are using for your label. This works best with very light fabrics but you can test different colors to see how they will work.
Step 7: Lay your fabric centered over the paper you just printed. I use a bit of tape to keep it in one place.
Step 8: Now comes the tracing part. You can do this a few ways. I used to tape this up to a window so the light would shine through and trace it. This works but I find my arm gets tired and I keep having to fiddle with the pen to keep the ink at the tip. So I created my own light table. My sewing machine table has a plexiglass insert and the machine is lowered so I have a space between the bottom of my machine and the top of the table. I put an Ott light in that space, placed my paper over top of that.
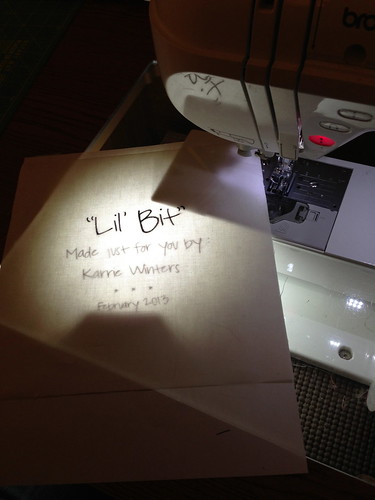
If you don't have a set up like this you could use any light box or you should be able to purchase a piece of plexi glass and then just set books or the like on either end to create a space to put a light underneath.
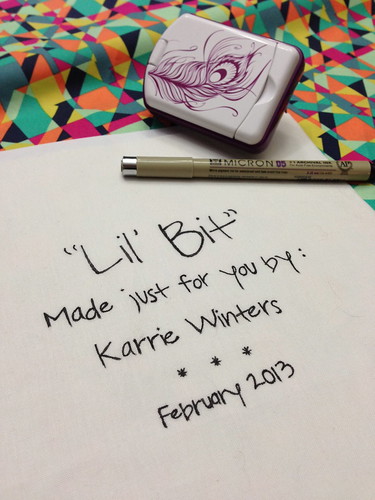
Step 9: Once you have your light source set up, start tracing with an archival safe pen. For this quilt I used a Micron 05.
Step 10: Sew it into your quilt backing! This shows how it looks sewn into the quilt after it's first washing.

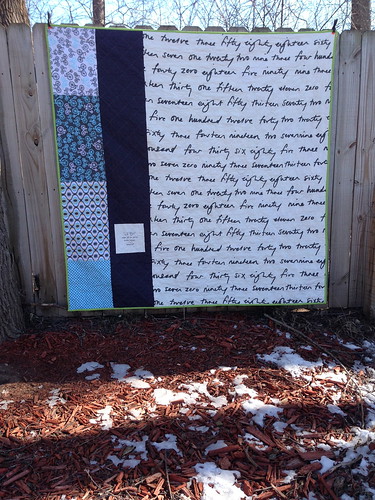
And here's the quilt it went into. Finish #4 for 2013.
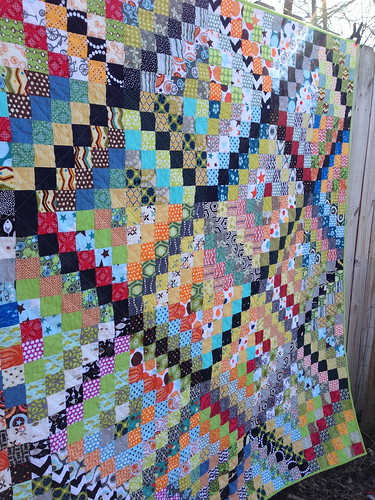
Began January 11, 2013 and finished on February 16, 2013
Pieced and quilted by me
I did 6 blocks on January 11, and finished the rest from February 11-16th ;)
I would love to see your results if you try this!!
Much Love!!!

I have recently printed mine on Spoonflower and I have left a big gap at the top for the quilt name message etc then I can just fold it over and sew it on. I actually put up a post this morning of a finish with one of my labels on it :o)
ReplyDeleteThanx for posting this. I hate my handwriting and as a result, don't label my quilts. So bad I know lol.
ReplyDeleteI used these exact pens on a quilt for a friend's baby and she said after several washes the ink ALL came out. Did you heat set it or treat it in any other way?
ReplyDeleteDo you remember what the name of the font please
ReplyDeleteThank you. I've read many ways to make labels and finally one, yours, that totally works for me. NEVER thought of printing then tracing, Duh! And my husband has a light box.
ReplyDeleteThank you for a very good way of making a label. I don't have a plexi-machine surround, but you gave me an idea. I used my quilt ruler across enough stacked books to make a gap to get the IKEA lamp that I use over my sewing machine, underneath. It worked really well, even for my old eyes.
ReplyDelete