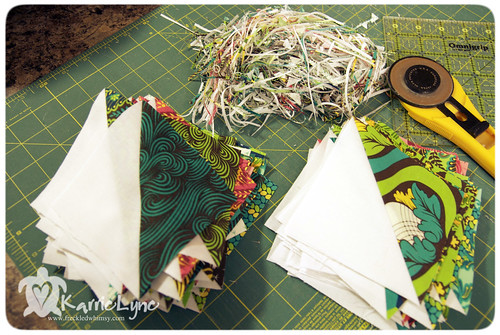
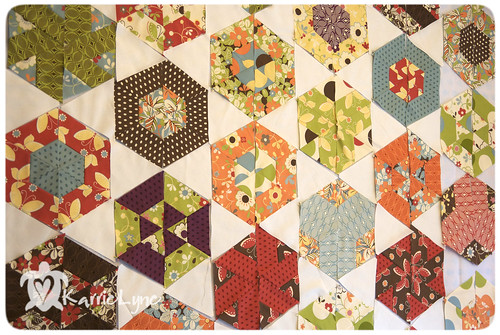
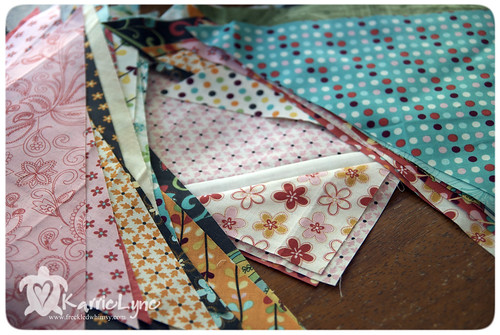
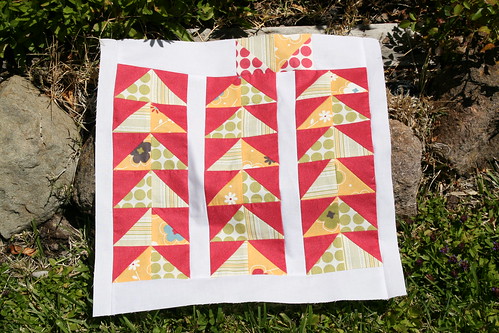
Ohhhhh...It's time! Are you ready? Do you have your charm packs and your solid to match?
Yes? Alright! Let's get started!
**Edited to add the link to download the PDF if you'd like: Click
HERE. :)
We need 75 charms in a print, and 75 "charms" in a solid.
1. First you need to cut your solid fabric into 5" strips. You will need 10 strips for this first step. (If you are using charm packs in the solid, you can skip to step 3)
2. Now sub-cut these strips into 5" squares. Once you are done cutting, you will have 80 squares. You only need 75 for this step, but put the extra 5 aside because you will use them in the next step.
3. On the WRONG side of your solid fabric, you will need to draw a line from corner to corner.
4. Next, place a white square RIGHT SIDES TOGETHER with a print square and sew a 1/4" seam on either side of the line you drew on the white square.
5. Now cut along that line you drew.
6. Press to the dark side. Yield two Half Square Triangles. (HST)
7. We need to get these HST trimmed down to 4.5" square. Don't be afraid. I'm going to show you how :) It's easy!
8. You will need a ruler that is at least 5" square. If you have a larger one, that will work just fine. It doesn't have to be square either, just so that you have two sides that are at least 5".
9. Position your HST as shown below and line up the 45 degree angle line that is on your ruler, with the seam line on your HST.
10. Looking at the photos as reference, you will need to make sure of a few things before you start cutting. We want to trim these HST to 4.5". To do this, you need to make sure that you have part of the fabric that extends a touch beyond the 4.5" marks on your ruler to the left side, and on the bottom, as well as over hang beyond the ruler on the right side and top.
11. Once your HST is set up like the photo above, you can go ahead and trim the extra fabric on the right side, and at the top.
12. Two sides down, two more to go. Rotate your block 180 degrees. In other words, when you rotate your block, the corner that was originally at the top right, will now be at the bottom left.
Line up the fabric on the left and the bottom with the 4.5" marks on your ruler. Trim the right and top again.
13. You should now have a perfect 4.5" HST. :)
That's it!! Do this for each of your 75 pairs, which will yield 150 HST.
The quilt I am making will end up approximately 72" squared and has 25 blocks. Each block for this quilt needs 6 HST, so if you are making your quilt larger or smaller than I am, you can make as many HST as you need. Just take your total number of blocks multiplied by 6 to find out how many HST you will need. :)
This sounds like a lot, but it goes quite quickly, especially if you chain piece when you are sewing your two squares together.
Even so, I will give you all two weeks to complete this step before I write out the next step. I will see you back here for this quilt along on August 1st.
I also have a Flickr group. Feel free to add your photos of the fabric you are using and/or your finished HST. :) I'd love to see everyone's progress. You can find the group by clicking
HERE.
Always know, if you have any questions, please feel free to ask in the comments (please include your email so I can respond to you) or you can email me directly
HERE.
Don't forget...have fun with this!! :D
Much Love!!!


