


Yesterday I posted about the Siggy Swap. Did you go and sign up? No? Well what are you waiting for? (hee hee)
We are still taking sign ups so its not too late if you didn't get a chance yesterday or if you just saw this today. If you want to sign up, head on over to Julie's blog and all the information is there! Thanks to Julie for hosting this swap!! :)
Today's tidbit goes along with this swap, but you can use this trick anytime you need to write on fabric.
I found that when I was doing my signatures and using freezer paper to back them, the siggys came out really nice and smooth, but ya'll know me and how patient I am. I couldn't imagine putting freezer paper on each one or doing it one at a time. Too much work and too much more quilting I could be doing. So...have a go at this.
It's not the same as using freezer paper but I think it works better than just putting your block on a hard surface.
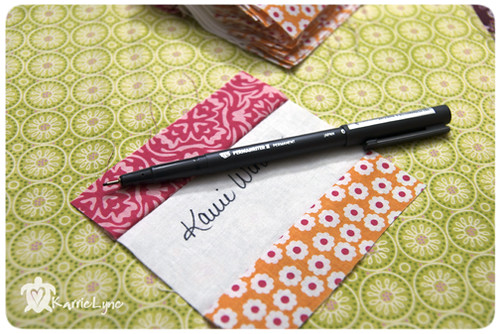
On a hard surface, lay a double layer of fabric down on top of that hard surface, then lay your block that you need to sign on it, hold it somewhat taut and sign. Move your fingers after each part of your name or word you write, ensuring it is still taut. Laying it on the fabric helps so that it doesn't move quite as much.
**Just in case of bleed through (depending on which type of pen you use), don't use your best stash fabric.
Now to go sign the 80 or so more of my blocks! ;)
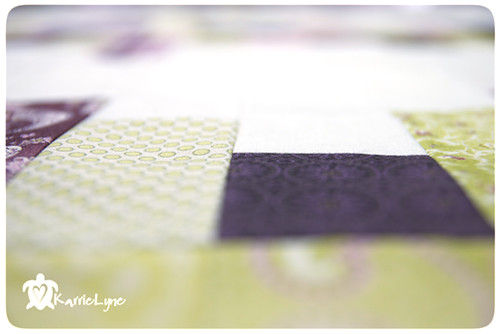
Oh, before I go....here's another sneak peek at my Moda Bake Shop project that I am going to submit, hopefully before the weekend, which means I need to get going to get it quilted!! :D
**hopefully it's ok that I post a sneak peek...
Much Love!!!

I know this may sound crazy but what do you do with the siggy blocks?
ReplyDeleteJeannette - Great question!! Check out Julie's tutorial here ( http://www.modabakeshop.com/2010/05/life-cycles-quilt.html ) and it will give you some layout ideas for putting them in a quilt. :)
ReplyDeleteThanks for the great tip! I can't wait till my honey bun gets here so I can start making my blocks!
ReplyDeleteYup I signed up!!! Still not sure what fabrics I want to use but I'm sure I'll find something, I always do!
ReplyDeleteGot my fabric and am ready to do some cutting!
ReplyDeleteI should have read this yesterday as I already cut out recs of freezer paper to iron on the back so I can sign!
Can't wait to see your bake shop goodie!
ReplyDeleteAnother thing to try is to put sandpaper behind the fabric. Make sure it's not too coarse (you don't want the signature bumpy), but it holds the fabric really well.
ReplyDelete